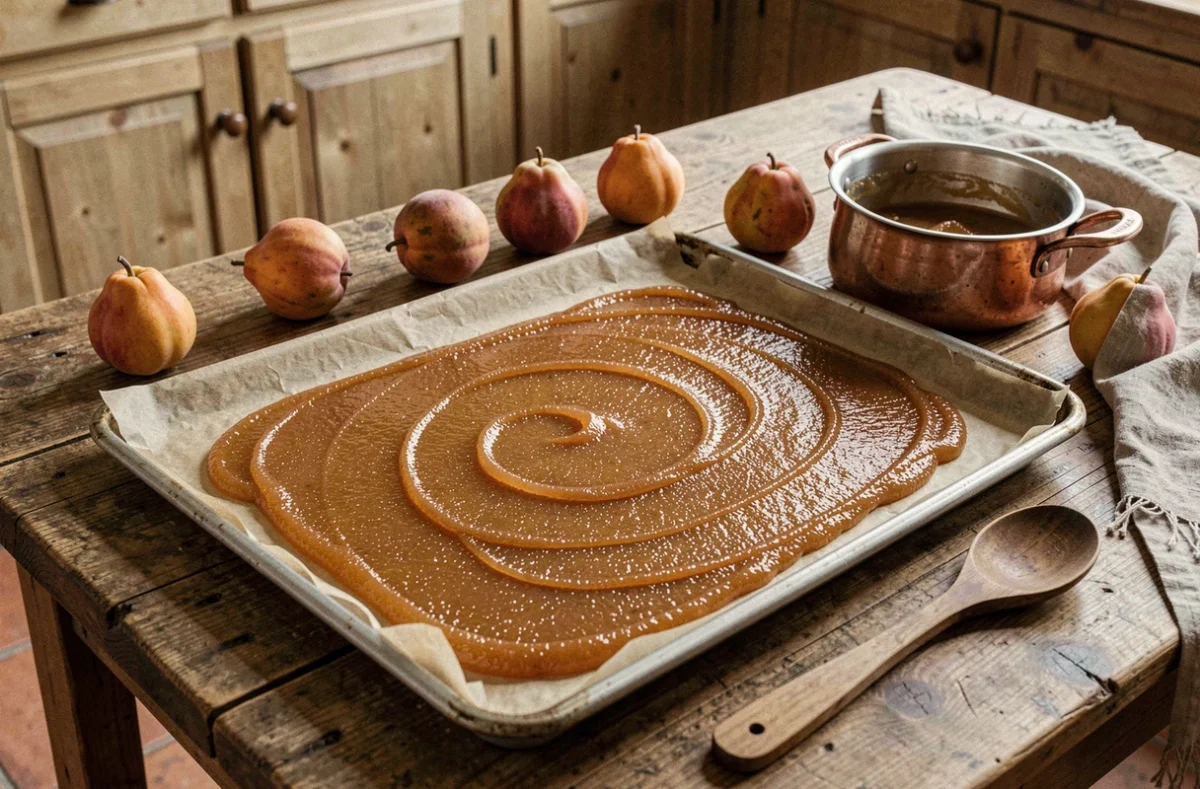
Homemade quince paste is based on a simple principle: cook fruit purée with sugar, then dry it until it becomes a firm, translucent confection. Most failures happen during the oven-drying stage. If it’s too short, the paste stays sticky and can develop mold within a few days. If it’s too long or too hot, the surface hardens while the center remains moist. A home oven is not a dehydrator, and that difference shapes the entire method.
Quince paste thickness before drying: the overlooked factor
Most recipes focus on oven temperature and drying time. They quickly gloss over a factor that matters just as much as the other two: the thickness of the layer of paste spread in the pan.
An uneven layer creates two distinct zones. The thinner edges dry and harden well before the center, which remains soft and sticky. The result makes it seem as though the drying is complete, even though the middle of the paste still contains too much water. Cut into a square a few days later, and you may find a tacky interior that has sometimes already started to ferment.
To find out how to dry quince paste in the oven without any unpleasant surprises, start by spreading the mixture perfectly evenly. Using an offset spatula or the back of a spoon to smooth it from the center toward the edges works better than simply pouring in the paste and relying on gravity.
The ideal thickness depends on the pan. A standard rectangular dish works well with a layer about two centimeters thick. Any thinner, and the paste may become brittle. Any thicker, and the drying time increases considerably, along with the risk of a poorly dried center.
Oven temperature and humidity control during drying
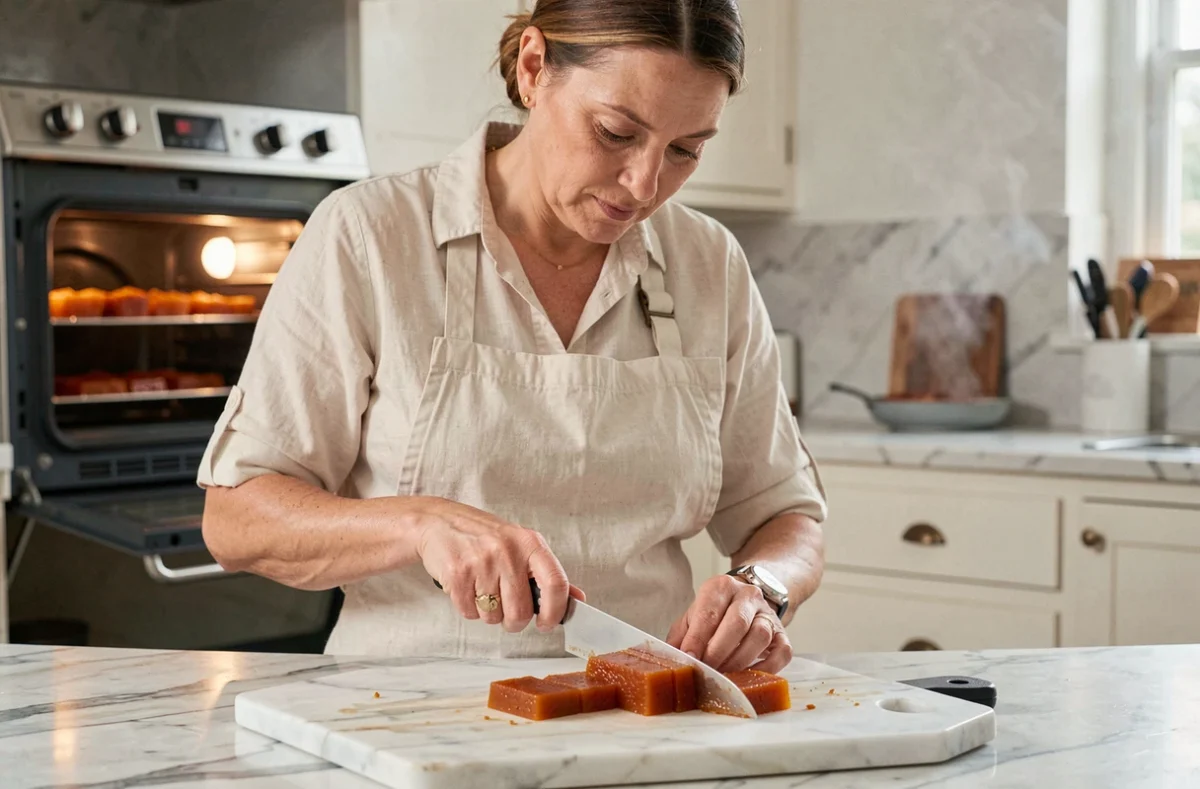
A home oven was not designed for dehydrating. Its lowest thermostat setting varies from one model to another, and airflow inside is rarely even. Giving a precise temperature as a universal recommendation would be misleading. The heat should remain low, well below baking temperature, to evaporate the water without caramelizing the sugar on the surface.
Fan-assisted or conventional heat
A fan-assisted oven speeds up drying because the fan circulates the moist air. In a conventional oven, moisture lingers around the paste and forms a layer that slows evaporation. In this case, leaving the oven door open by an inch or two (with a wooden spoon handle wedged in the gap) lets the steam escape.
This trick has a drawback: it causes the internal temperature to fluctuate. Drying becomes less predictable, and the total time can vary by as much as a factor of two between different ovens. It’s better to accept this variability than to try to compensate by raising the temperature.
Turning the paste during drying
After the first drying phase, a thin crust forms on the top while the side touching the pan remains moist. Turning the paste halfway through exposes that side to direct heat. To do so without breaking it:
- Wait until the surface is firm enough not to stick to your fingers, which generally takes up the first half of the total oven time
- Turn the paste out in one piece onto a rack lined with parchment paper, then return it to the oven with the moist side facing up
- Lower the temperature slightly after turning, since the paste has already lost some of its water and will dry faster
This step is often missing from quick recipes, but it makes the difference between quince paste that is firm throughout and paste with a soft underside.
How to tell when drying is complete: why judging quince paste while it’s hot is a mistake
It’s tempting to touch the paste as soon as it comes out of the oven and decide that it’s done drying. Paste that is still warm always feels firmer than it really is. Hot sugar stiffens on the surface, creating a false impression that it has set.
The only reliable test is to take the paste out of the oven, let it cool completely to room temperature, then press the center with your finger. If your finger leaves a clear indentation that doesn’t spring back, or if the surface is still sticky, it needs more drying. Return the paste to the oven for short intervals, testing again after each cooling period. It takes time, but eliminates the risk of under-drying.
This testing process explains why oven-drying often takes two days. The first session dries out the surface. Turning the paste and drying it a second time takes care of the center. Intermediate tests after cooling let you adjust the process without guessing.
Storing quince paste and packaging mistakes
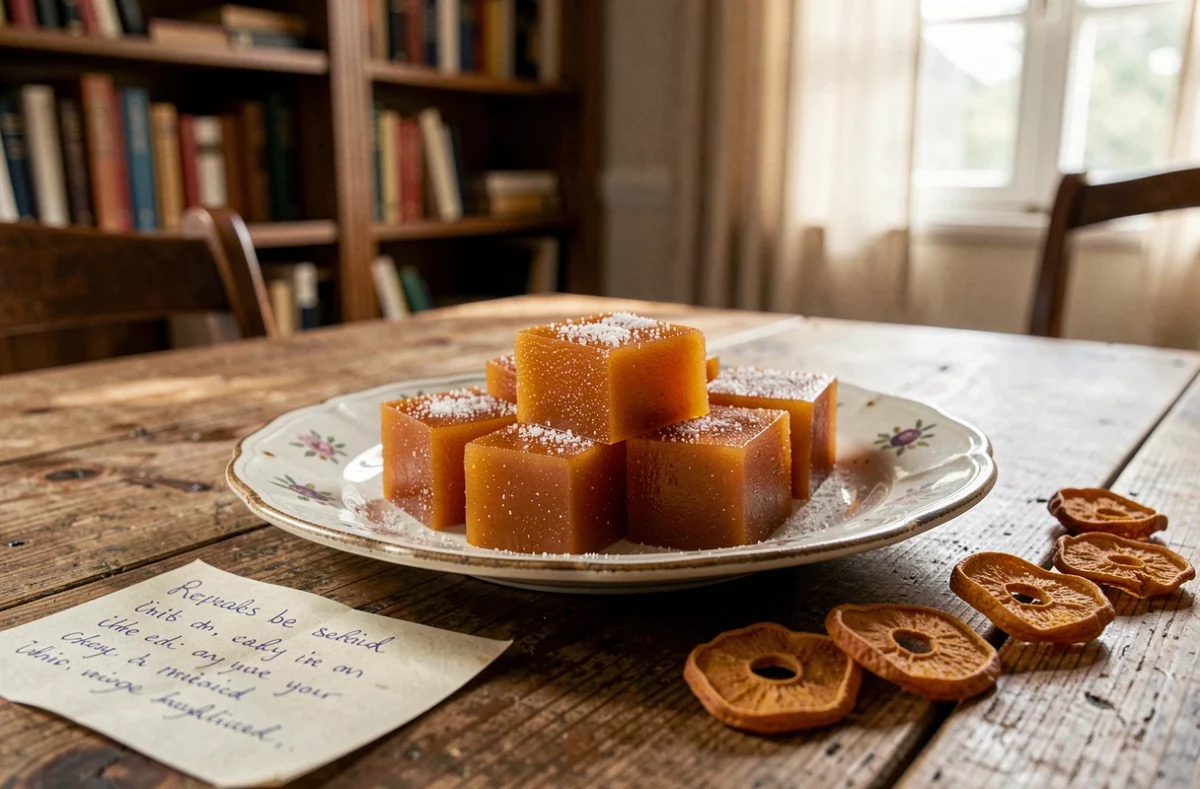
Residual moisture is a storage problem, not just a texture issue. If the paste is wrapped too soon, while it still contains water in the center, it creates an environment where mold can thrive. Sugar won’t protect an improperly dried confection indefinitely.
Before wrapping the paste, take these two precautions to reduce the risk:
- Leave the cut pieces uncovered for several hours after their final time in the oven, so any residual moisture in the center can migrate to the surface and evaporate
- Place parchment paper between each layer of stored paste to absorb any remaining moisture and prevent the pieces from sticking together
- Store the paste in a non-airtight container for the first few days, then switch to a sealed container once the surface is completely dry to the touch
Plastic wrap placed directly on the paste traps even the smallest trace of water. Parchment paper, on the other hand, lets the confection breathe while protecting it from dust.
Properly dried quince paste keeps for several weeks at room temperature. The real sign of success is a dry, non-sticky feel after several days in storage. If the surface becomes sticky again, the paste wasn’t dried enough. You can still put it back in the oven, as long as it hasn’t already been sealed in airtight packaging.